Overview
As a comprehensive talent agency management software, StarAgent has all the features needed to help talent agencies store and manage unlimited talents, their details, images, and videos in a shared location, which is accessible to everyone from the agency, at any time. With user-friendliness in mind, we have made it possible for you to add new talents either through the manual registration process or enabling self-registration for talents.
If you choose to manually onboard a talent, you can collect the information from talent, and enter in the details in the StarAgent database, by going directly to Talents >> Add New.
Now, if you choose to go for the self-registration process, this manual is meant to provide all the guidelines that have to be followed by you.
Self-Registration Steps
- Click on ‘Talents’ in the left sidebar.

- Hit the ‘Add New’ button.

- On the next page, select ‘Invite Via Email’.

- Enter in the Name and Email Address of the talent, and tap ‘Send’.

- Now ask the talent concerned to check his mailbox, open the email received from your company, and click on the link highlighted below to access the registration form.

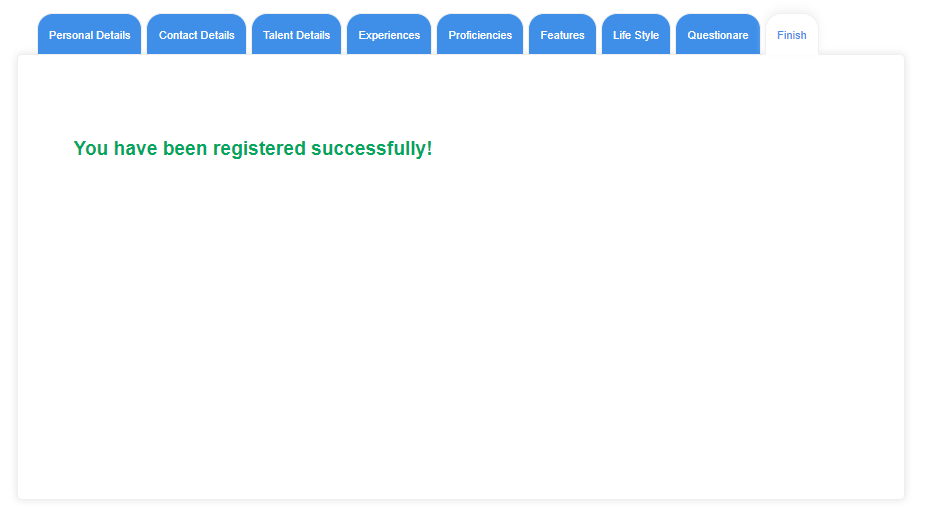
- Guide him/her to fill in all the mandatory fields and other information that he wants to share with your agency. The talent can insert information divided by topics such as Personal Details, Talent Details, Experiences, Proficiencies, Features, Lifestyle, and Questionnaire.

- Once he/she clicks on ‘Finish’, this message will be displayed on the talent’s screen.
- In the meantime, a new profile for the talent will be automatically created on your Talents Page with all the data entered by him/her. The profile will show up as ‘Unverified’ by default.

✍ Please Note: The default is that the talent profile is published without profile images. So, you may click on the ‘Photos’ icon on the profile, and start uploading images for them to appear on the talent profile. Refer to this article for more assistance with the image uploading process. |
- You can now click on ‘About Talent’, authenticate the details entered by the talent, and set it up as ‘Verified’ by clicking on the ‘Unverified’ tab under ‘Status’.

✨ Tip: If you still find the 'Unverified' label on the profile, please go ahead and refresh your web page. |
- Now, in case of incomplete filling of the form, the profile won’t be listed out in the ‘Talents’ page. To make it available on the page, go to Dashboard >> Scroll down and click on the required profile under ‘Recently Added Talent’ >> Change Status from ‘Unverified’ to ‘Verified’ and ‘Inactive’ to ‘Active’ (by simply clicking on the tab under ‘Status’).

✨ Tip: All the incomplete profiles will be displayed in RED colour under the ‘Recently Added Talent’ section. |