Creating and sending a professional invoice to your clients directly to their emails is super simple by following the below-mentioned steps.
- Click on the ‘Projects’ tab in the left sidebar.

- The page will refresh, and you will be taken to the projects page, with a list of all the created projects.

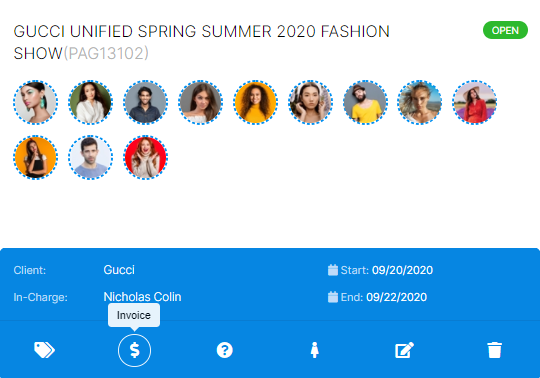
- Navigate to the required project, and click on 'Invoice'.
- On the next page, hit ‘Add Invoice’ in the top-left.

- Fill in all the mandatory details:

✔️ Liaison: The liaison specialist added under the client details page will be the one to whom the sending invoice is automatically addressed.
✔️ Invoice Number: This unique number inserted by you will be included on the invoice and can be used for payment tracking purposes.
✔️ Email ID: Once you select the liaison specialist, his email ID which you already saved in the client details page will be automatically populated in the field.
✔️ Invoice Due Date: You can set a specific due date on your invoice to encourage the clients to pay you within that particular period.
✔️ Invoice Details: All information relating to the invoice items and payments can be entered here.
✍ NB: You can use the 'Insert' tab to enter as many invoice items as you'd like to. |
- Once you have made sure everything has been correctly entered, select the checkbox near ‘Send Invoice as Email’, then tap ‘Submit’.
✨Tip: Select the checkbox ☑️ 'Recurring' to allow your invoices to be sent automatically to the client at regular intervals. So, you can just sit back, relax, and focus on your business while your invoicing is entirely taken care by StarAgent! |